Earlier in January, as part of my mama-style resolutions for 2013, I vowed that I would try harder with my hair. Before anyone gets too excited, allow me to issue a HUGE disclaimer: I suck at this. If my hair has ever looked good on this blog, it is for one of two reasons only:
1. Hair gods were smiling that day
2. I get blowouts. I found a cheap(ish) salon here in Philly and blowouts are my new fav thing. Manicure-smanicure. Give me a blowout any day.
Thus: If you are the type of talented mama who keeps Pinterest boards of cool hairdos to try (and then actually do it)….this article probably isn't for you. If you were known amongst your high school friends for your elaborate prom updos…this article isn't for you. If you already own (and use!) multiple curling irons…yeah. Wow. I'm so not at that level.
But if you (like me) frequently gasp in horror when you catch a glimpse of your hair in the mirror (so greasy???)…keep reading. If a pom-pom hat is your best styling tip…this might be for you. If you read the words "curling iron" and actually snorted…yeah, baby. We have that in common.
Got it? Awesome. Therefore, in 2013, here are the ways that I'm going to try harder with my hair:
1. …With Cute Hair Accessories
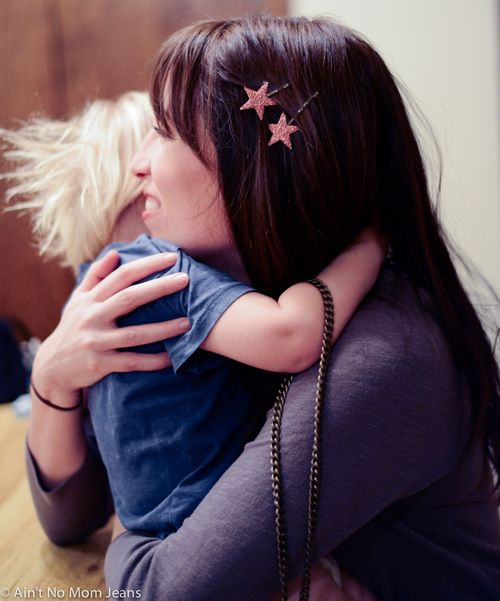
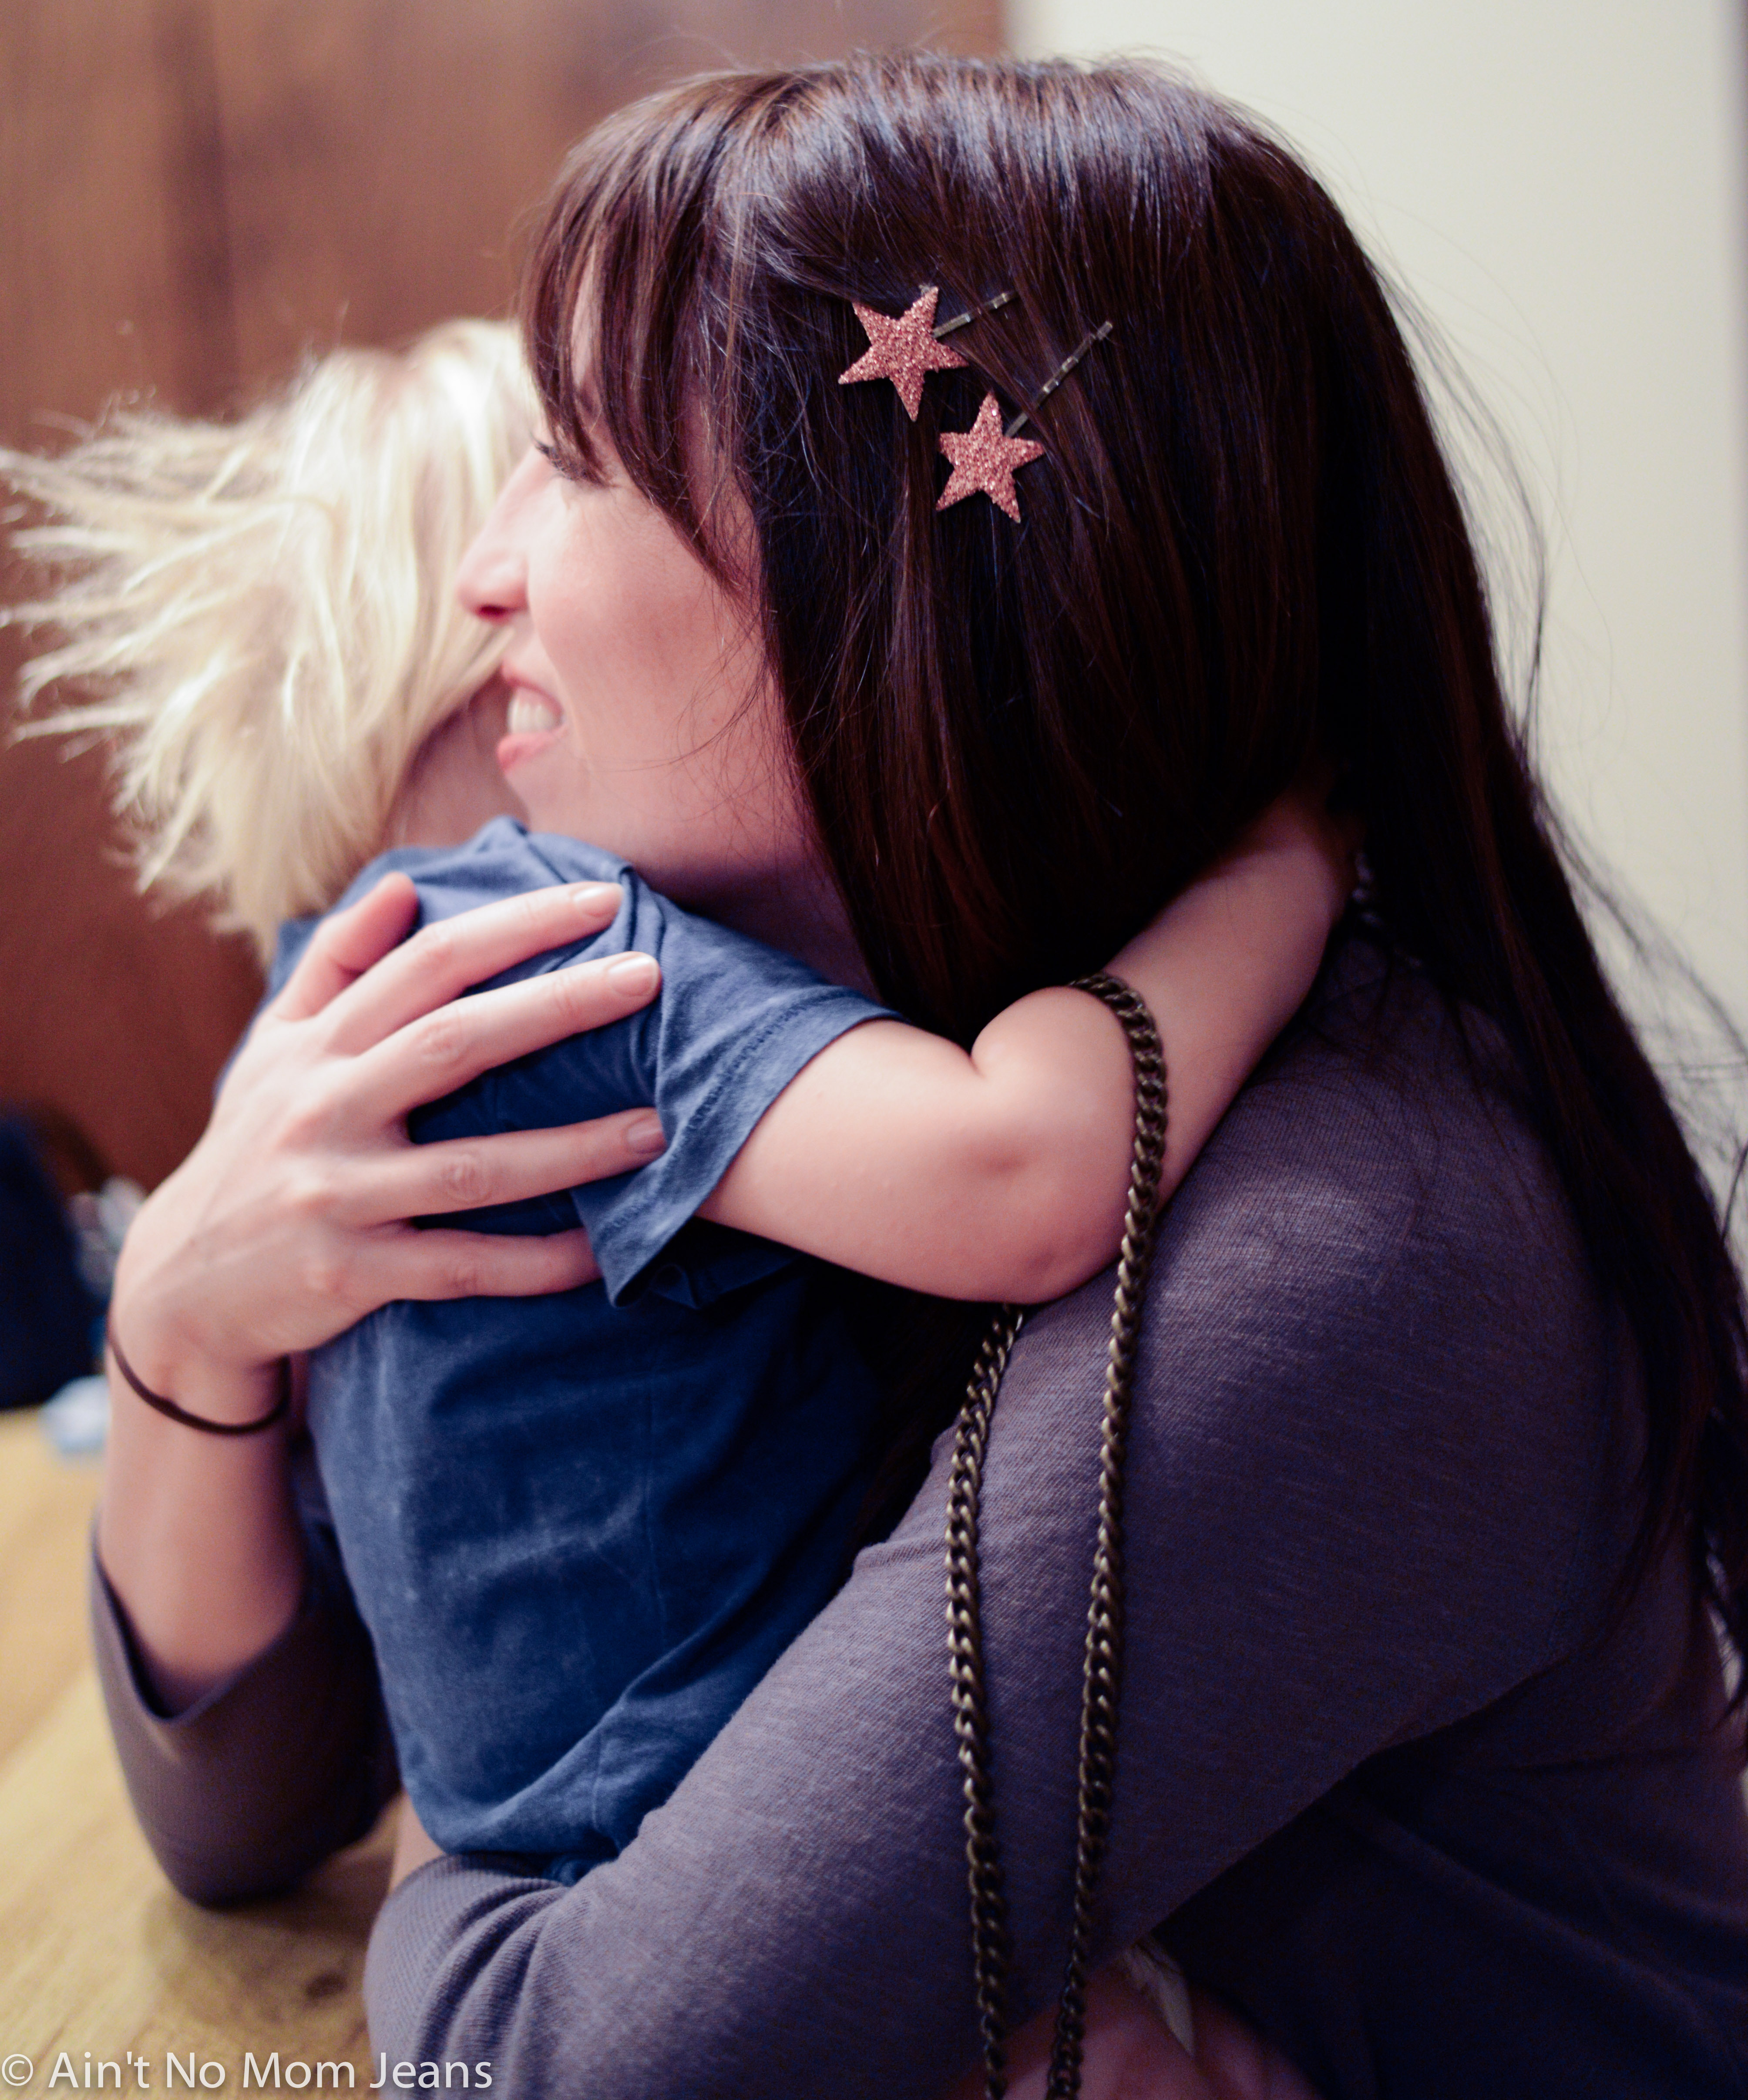
My sister bought me the adorable star bobby pins from Giant Dwarf (pictured above). I love how they add a bit of whimsy to any outfit and instantly make my hair look cooler (even my typical pony). Of course, if you are handy, you could always DIY some, like Camille.
My other hands-down new fav, are J.Crew Tortise barettes.
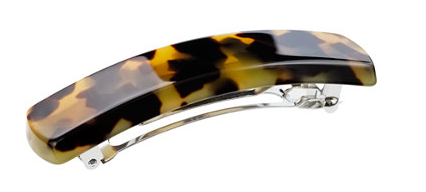
When I'm pulling half my hair back, these things really keep it in place…and they look SO much better than alternatives. J.Crew stores also have a giant version that's big enough to pull all of my hair back into a low pony. I've tried the cheap imitations from Target, but they typically break after one or two uses (I have a TON of hair). Mamas, if anyone else has found high-quality, LARGE barettes, please let me know!
2. …By Faking a Blowout With Dirty Hair
The real thing is pretty fabulous, but I don't have the time or money to get them as often as I'd like. Instead, when my hair is driving me NUTS with the flat-greasy-blahs, there are two products that work wonders:
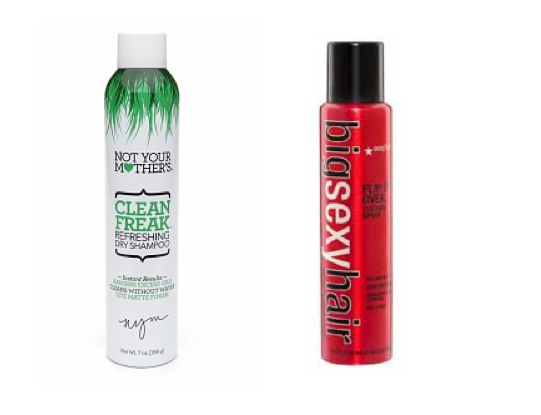
Not Your Mother's Clean Freak Dry Shampoo | BigSexyHair Flip It Over Texture Spray
I've known about these (or products similar) for a while now, so here's my big resolution: USE THEM.
I read on a Cup of Jo that dry shampoo works better when you spray it in before bed, then sleep on it. Which…ok. I did that exactly once and yes, it worked. However, at night my husband and I are usually too busy in our nightmare of a bedtime routine (approx length: 3.5 HOURS, I kid you not)…and the last thing I can remember to do is apply dry shampoo. Instead, for mornings when I know a shower isn't in the cards and grease abounds….I simply spray a boat-load of Clean Freak on my hair, then BLOW DRY IT. No white residue, and insane volume. To pump the volume up even more, I'm in love with Bigsexyhair's Flip It Over Texture Spray. You basically just do what it says: flip over your hair, spray around, flip it back. On really bad days, I've stashed this stuff in my purse.
This combo is the closest I've come to a dirty-hair blowout.
3. …By Adding Random Braids

When my bangs get greasy, I've started braiding them away. I just french-braid them down the side of my head, then slide a bobby pin in to hold it in place. Spray with hairspray.
Or…when pulling my hair back into a ponytail (or half-back, as mentioned above), I've also started braiding a few thin pieces in random places on my head. You spray the thin braids with a crap-ton of hairspray to keep them together (don't bother with an elastic) then pull your hair back into the usual ponytail, bun, whatever. Voila!
4. …By Creating BEACHY WAVES
Yup. I'm serious. Despite my propensity to snort whenever a curling iron is mentioned…I have managed to master come up with some moderately beachy waves. And it only cost me two different curling irons (OMG!!) and 8 burns. So…you know. TOTALLY WORTH IT.
But here's the thing: I've tried two different methods, in an attempt to determine which one was easiest. In the end, they both have different pros/cons…and since I've already splurged on both curling devices, I've found that I use them both, depending on the situation. So while I was hoping for a definitive THIS IS THE BEST, EASIEST, FASTEST METHOD VOILA…let me just show you the two.
Method One: With a Curling Iron
Pros: With touch-ups that literally take 2 min in the morning, I can make this hairstyle last 5-6 days. For realz.
Cons: This method is quite the process (shower, blow hair dry with diffuser, then curl omg). And if you are as unskilled as I, expect a few burns, and uh…be prepared for mixed results. (Mine always looks better the second day).
I was inspired to try beachy waves by this tutorial I found on Cara Loren's blog. Go check it out – her hair is gorgeous. My hair NEVER looks that perfect, but I am (usually) happy with the results. However, I do things a little differently, because at NO POINT EVER do I have time for a shower, a blow dry, and messing around with a curling iron. I'd have to forfeit clothes.
So here's what I do:
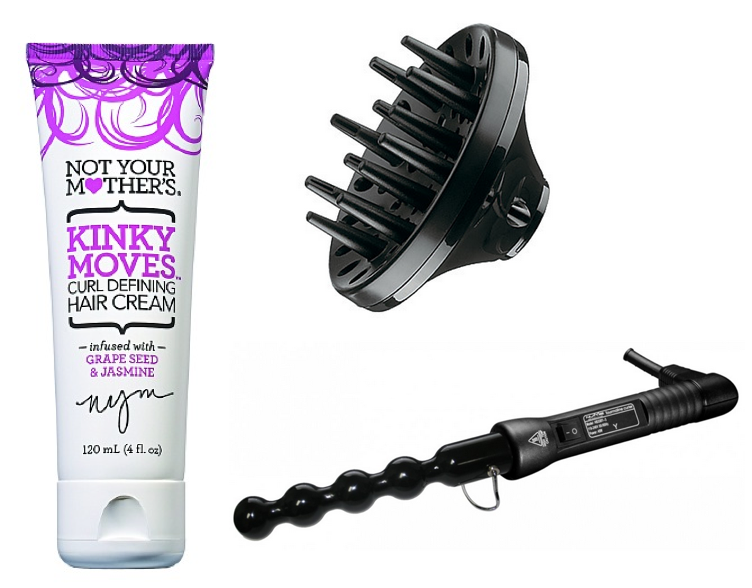
Not Your Mother's Kinky Moves Curl Defining Cream | Hairdryer diffuser | Nume Pearl Classic Curling Wand
At night: I shower, then run a ton of Not Your Mother's Kinky Moves through my hair. Then I blow it dry using a diffuser (Cara Loren demonstrates the diffuser technique in her video). I was hoping that the diffuser would miraculously be enough and then I could skip the curling wand altoget–
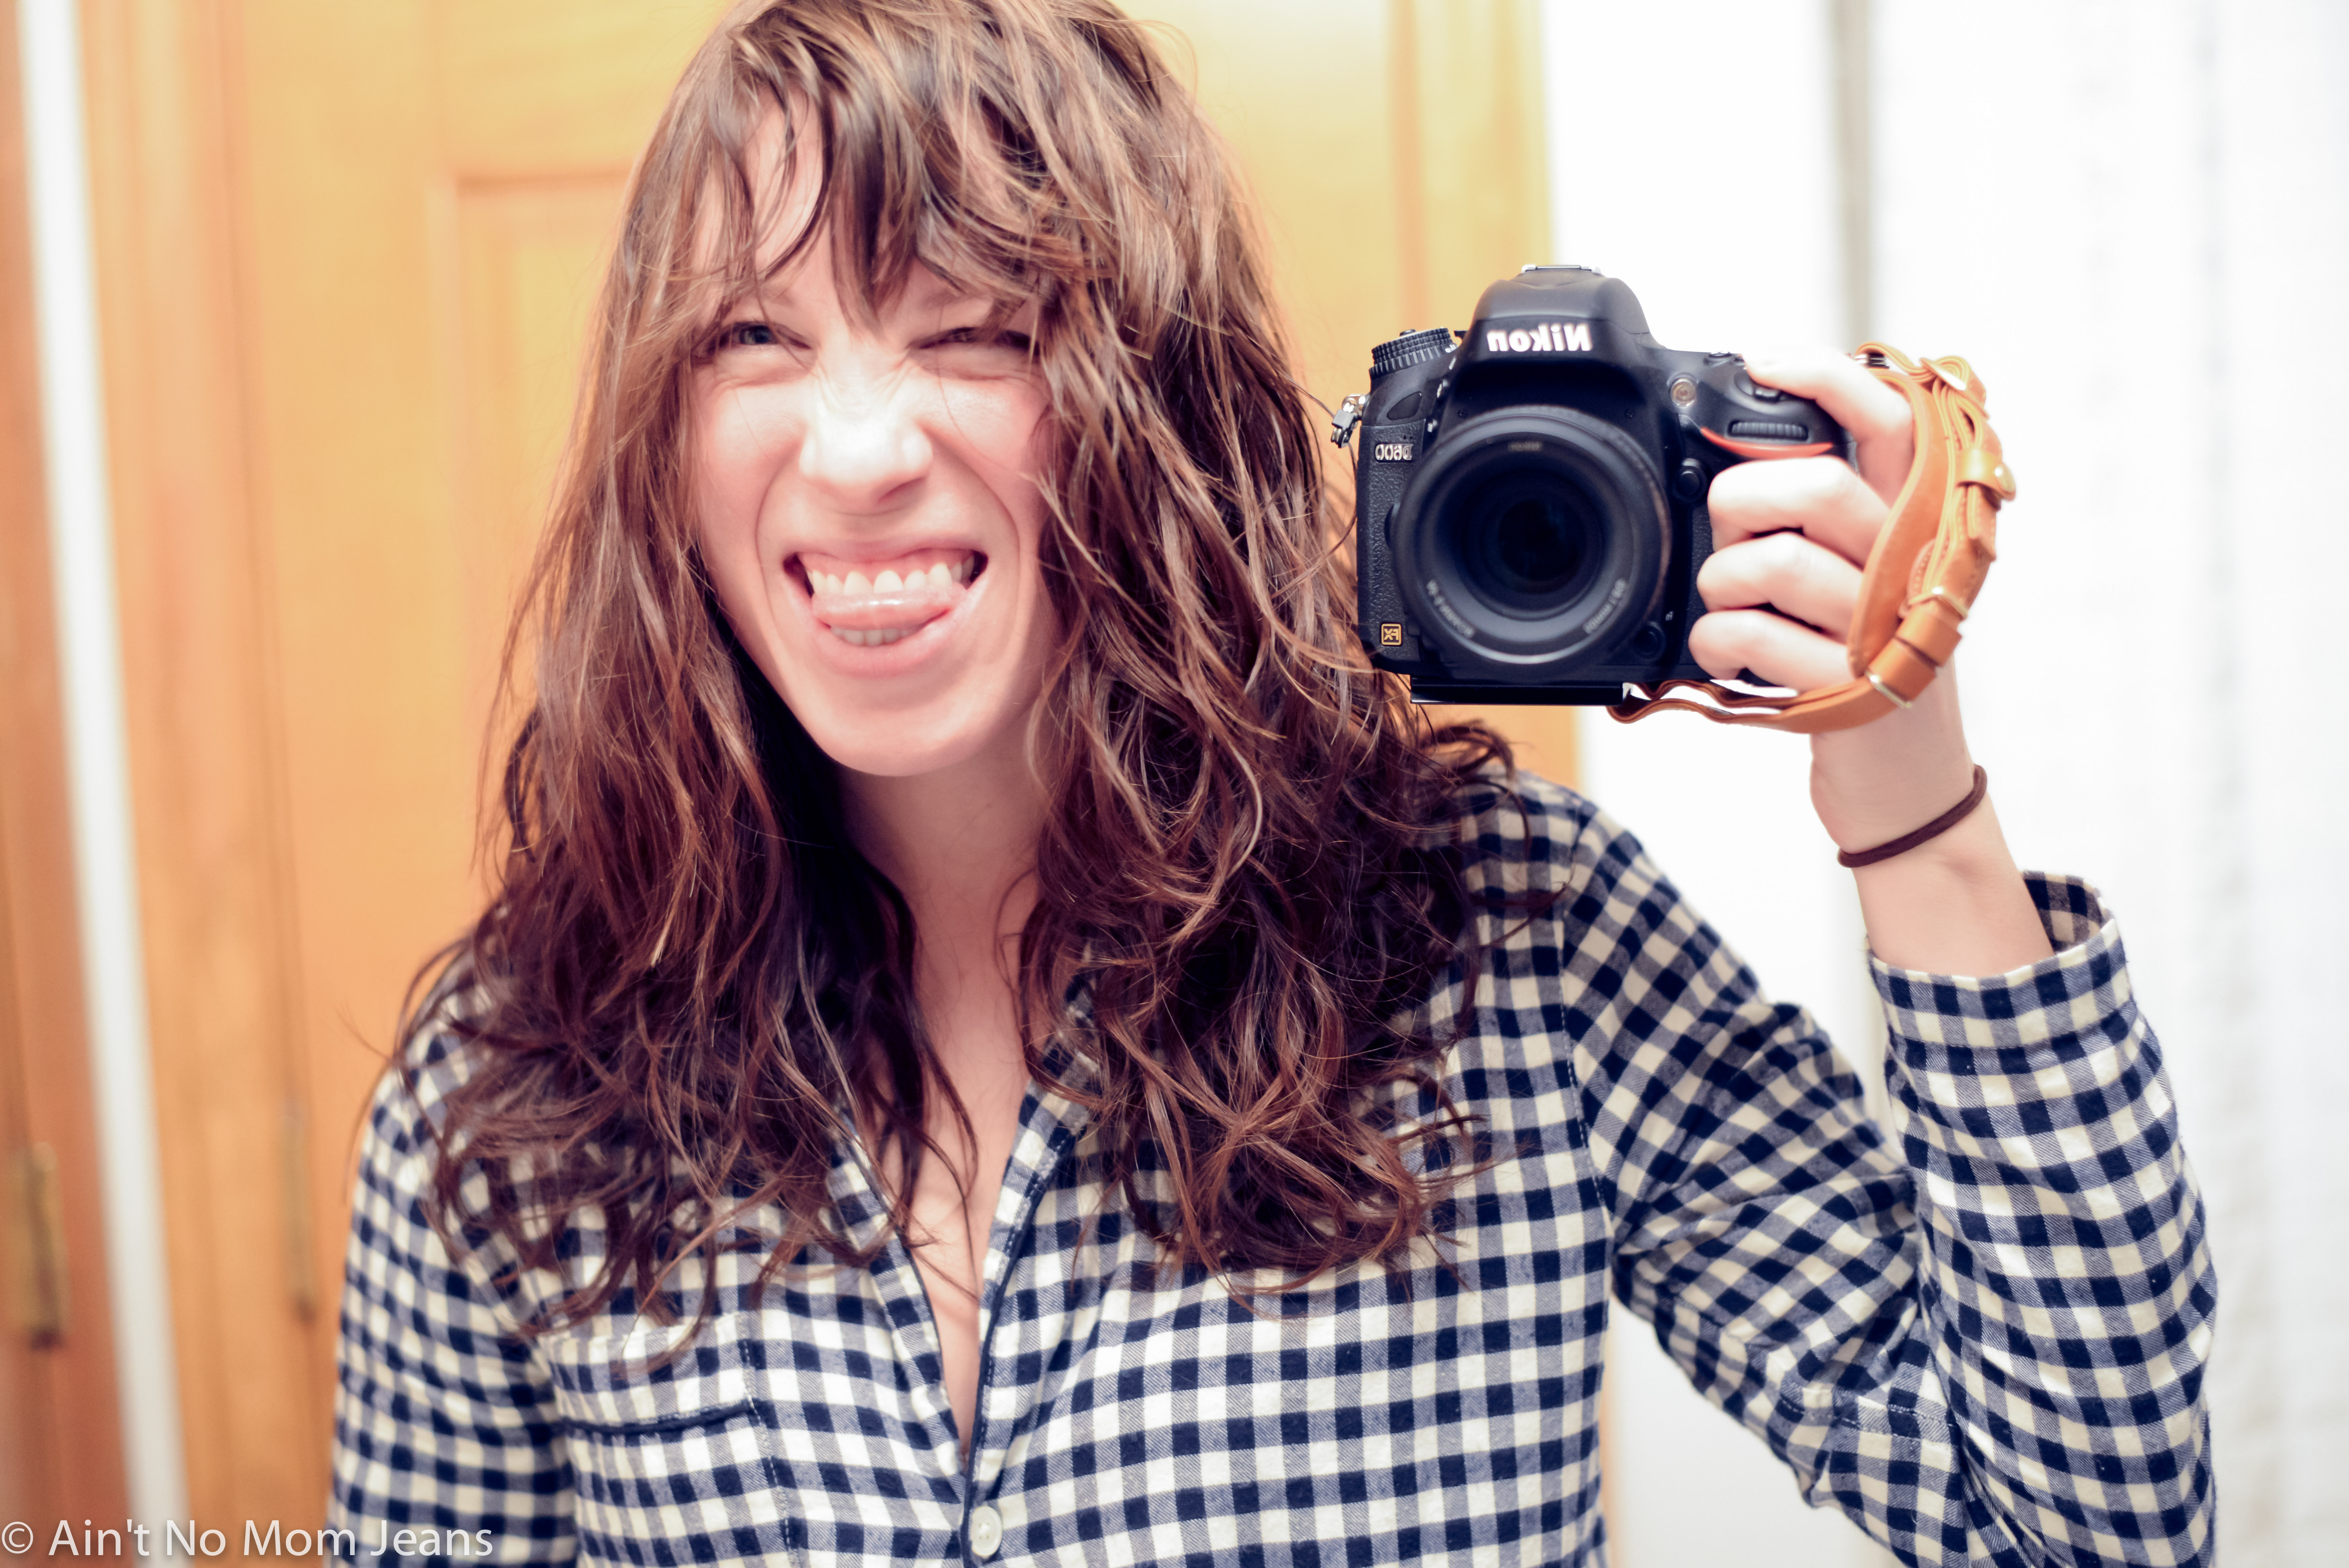
No.
SO THEN…I sleep on the mess. In the morning, it's just me, my coffee, and my curling wand*. (Obviously, it has to be a weekend or something.)
*I bought the Nume Pearl wand above, because Cara Loren provided a discount code that gets you one for $50 (down from $200). But you don't need one. I have it on good authority that you can use a regular 'ol curling iron for beachy waves by wrapping your hair around the barrel of the iron. No clamp. Don't use the clamp at all, or you'll get ringlets. Just the barrel.
But in all honesty, the whole curling process doesn't take that long. Maybe…15-20 minutes? And I've got it down now to only one or two burns. But when I'm done? On a good day, it looks like this:
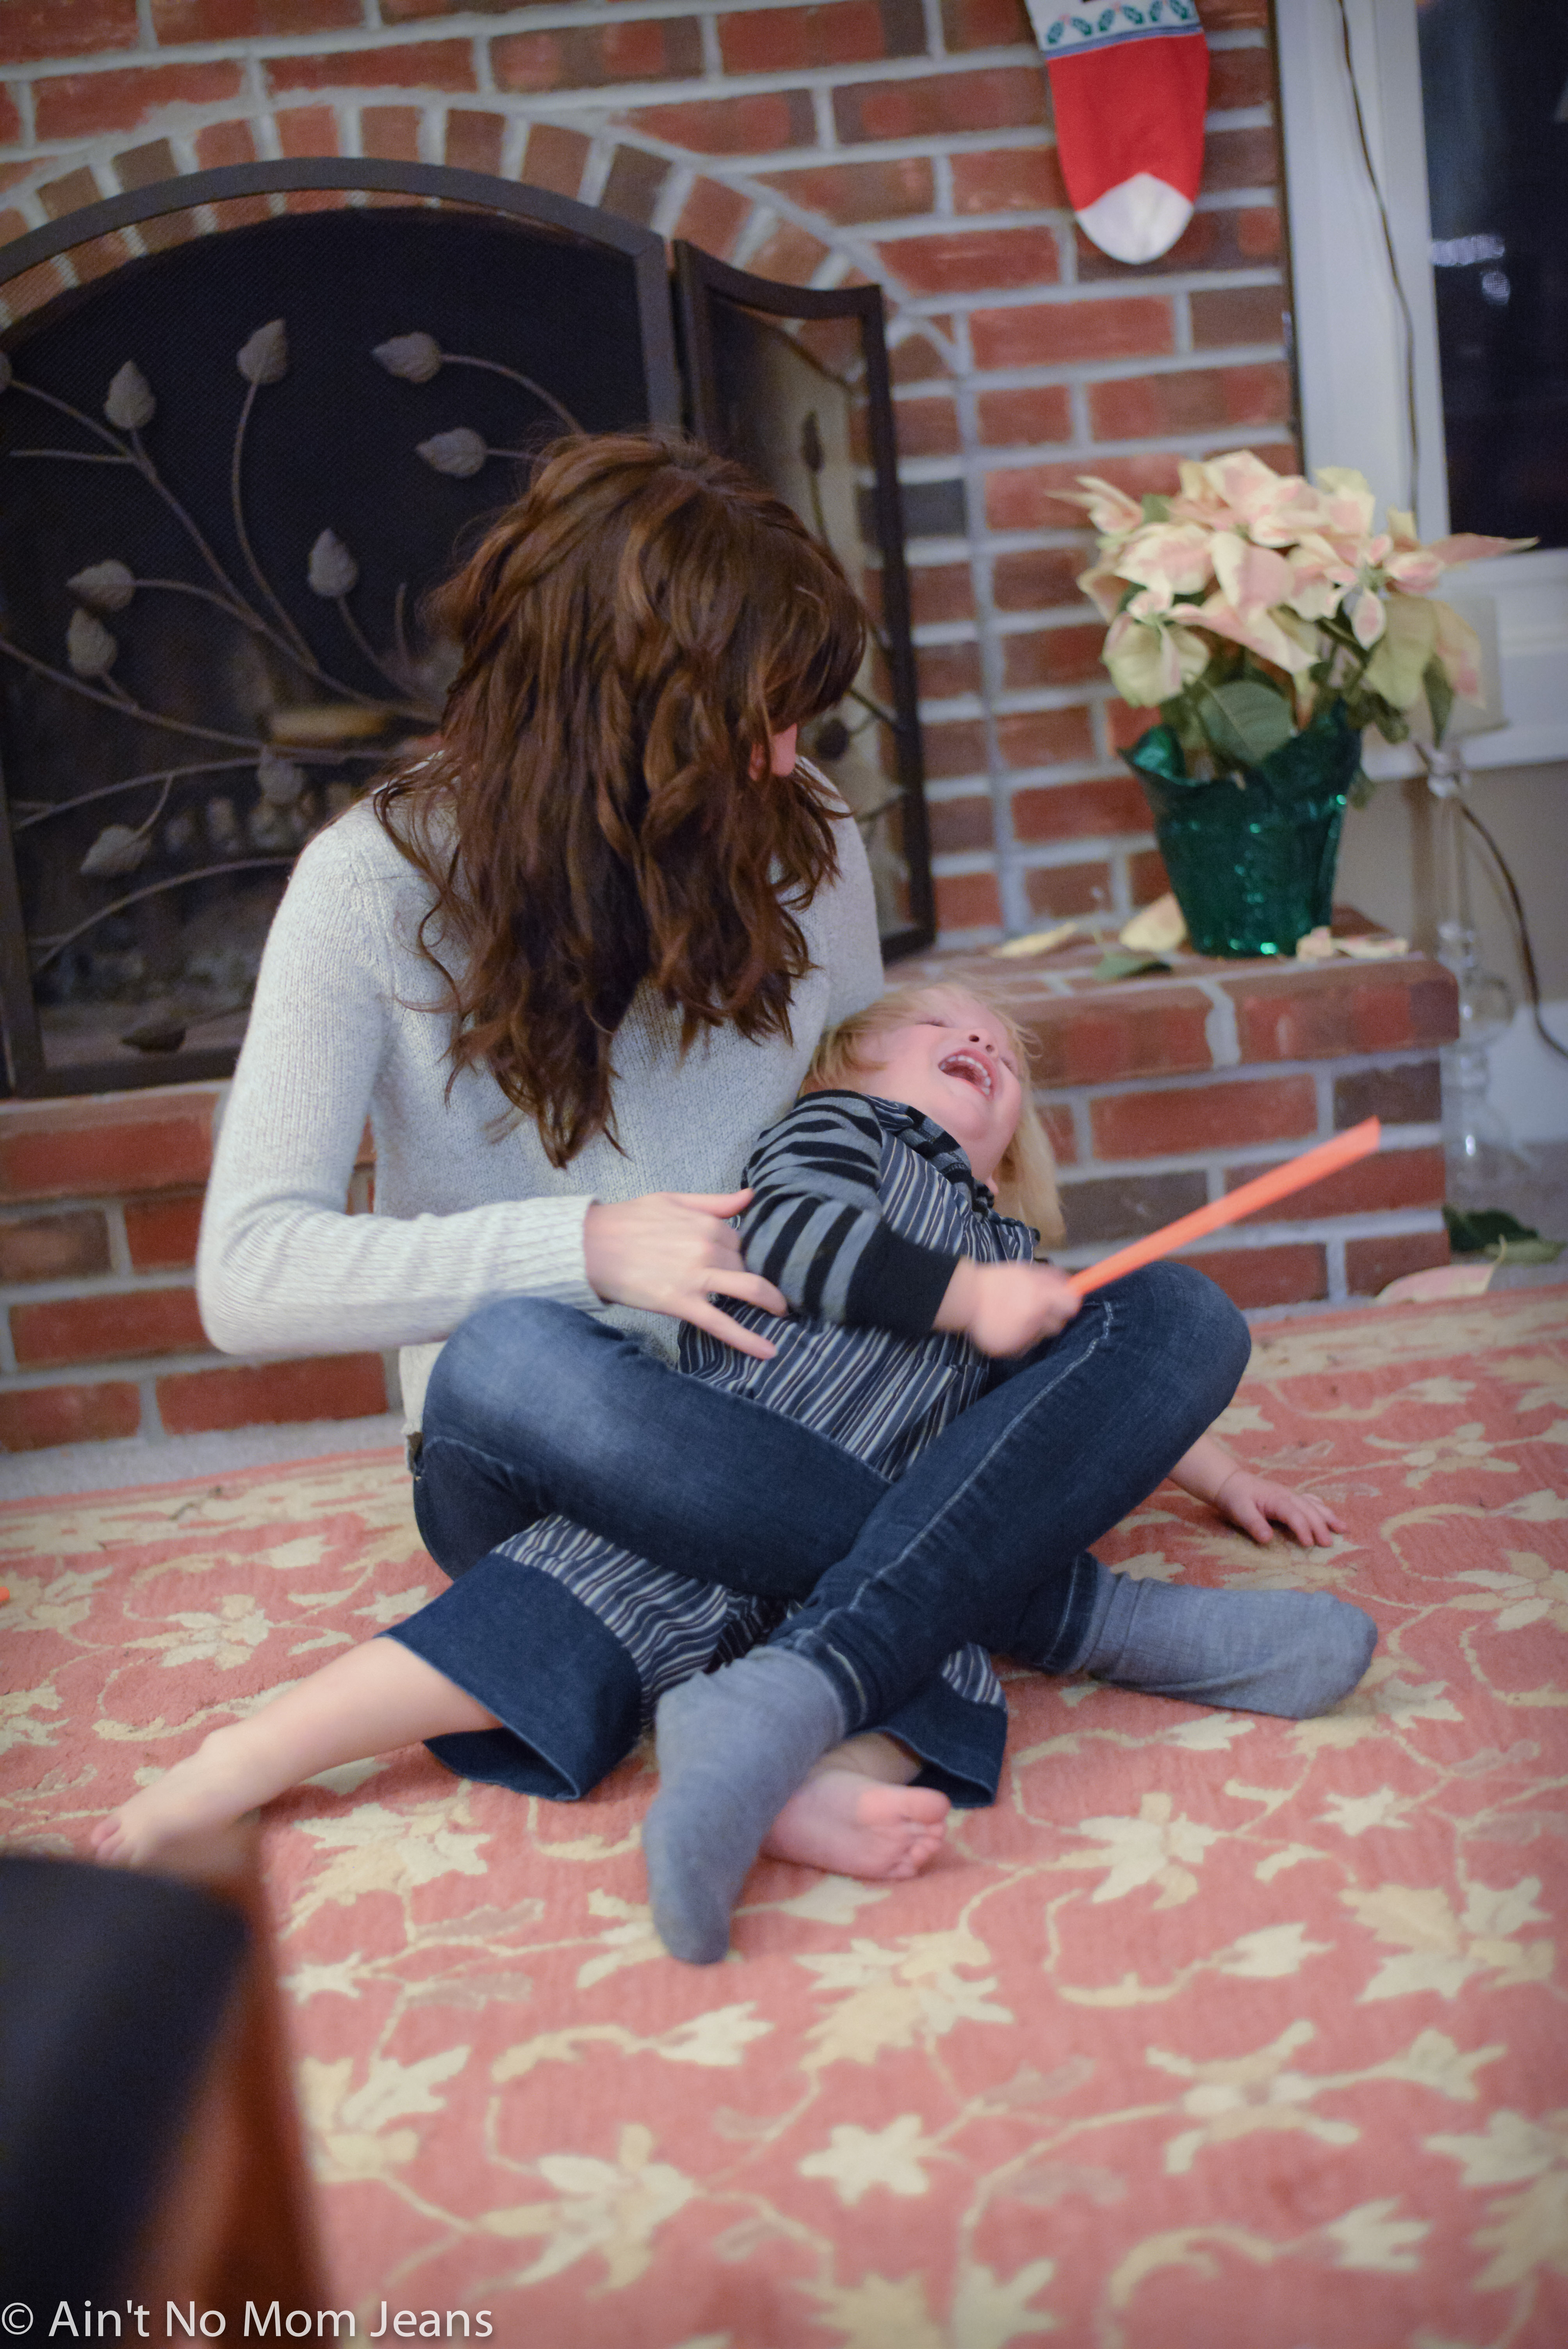
Cute and messy, right?
On a bad day, however, it's more like this:
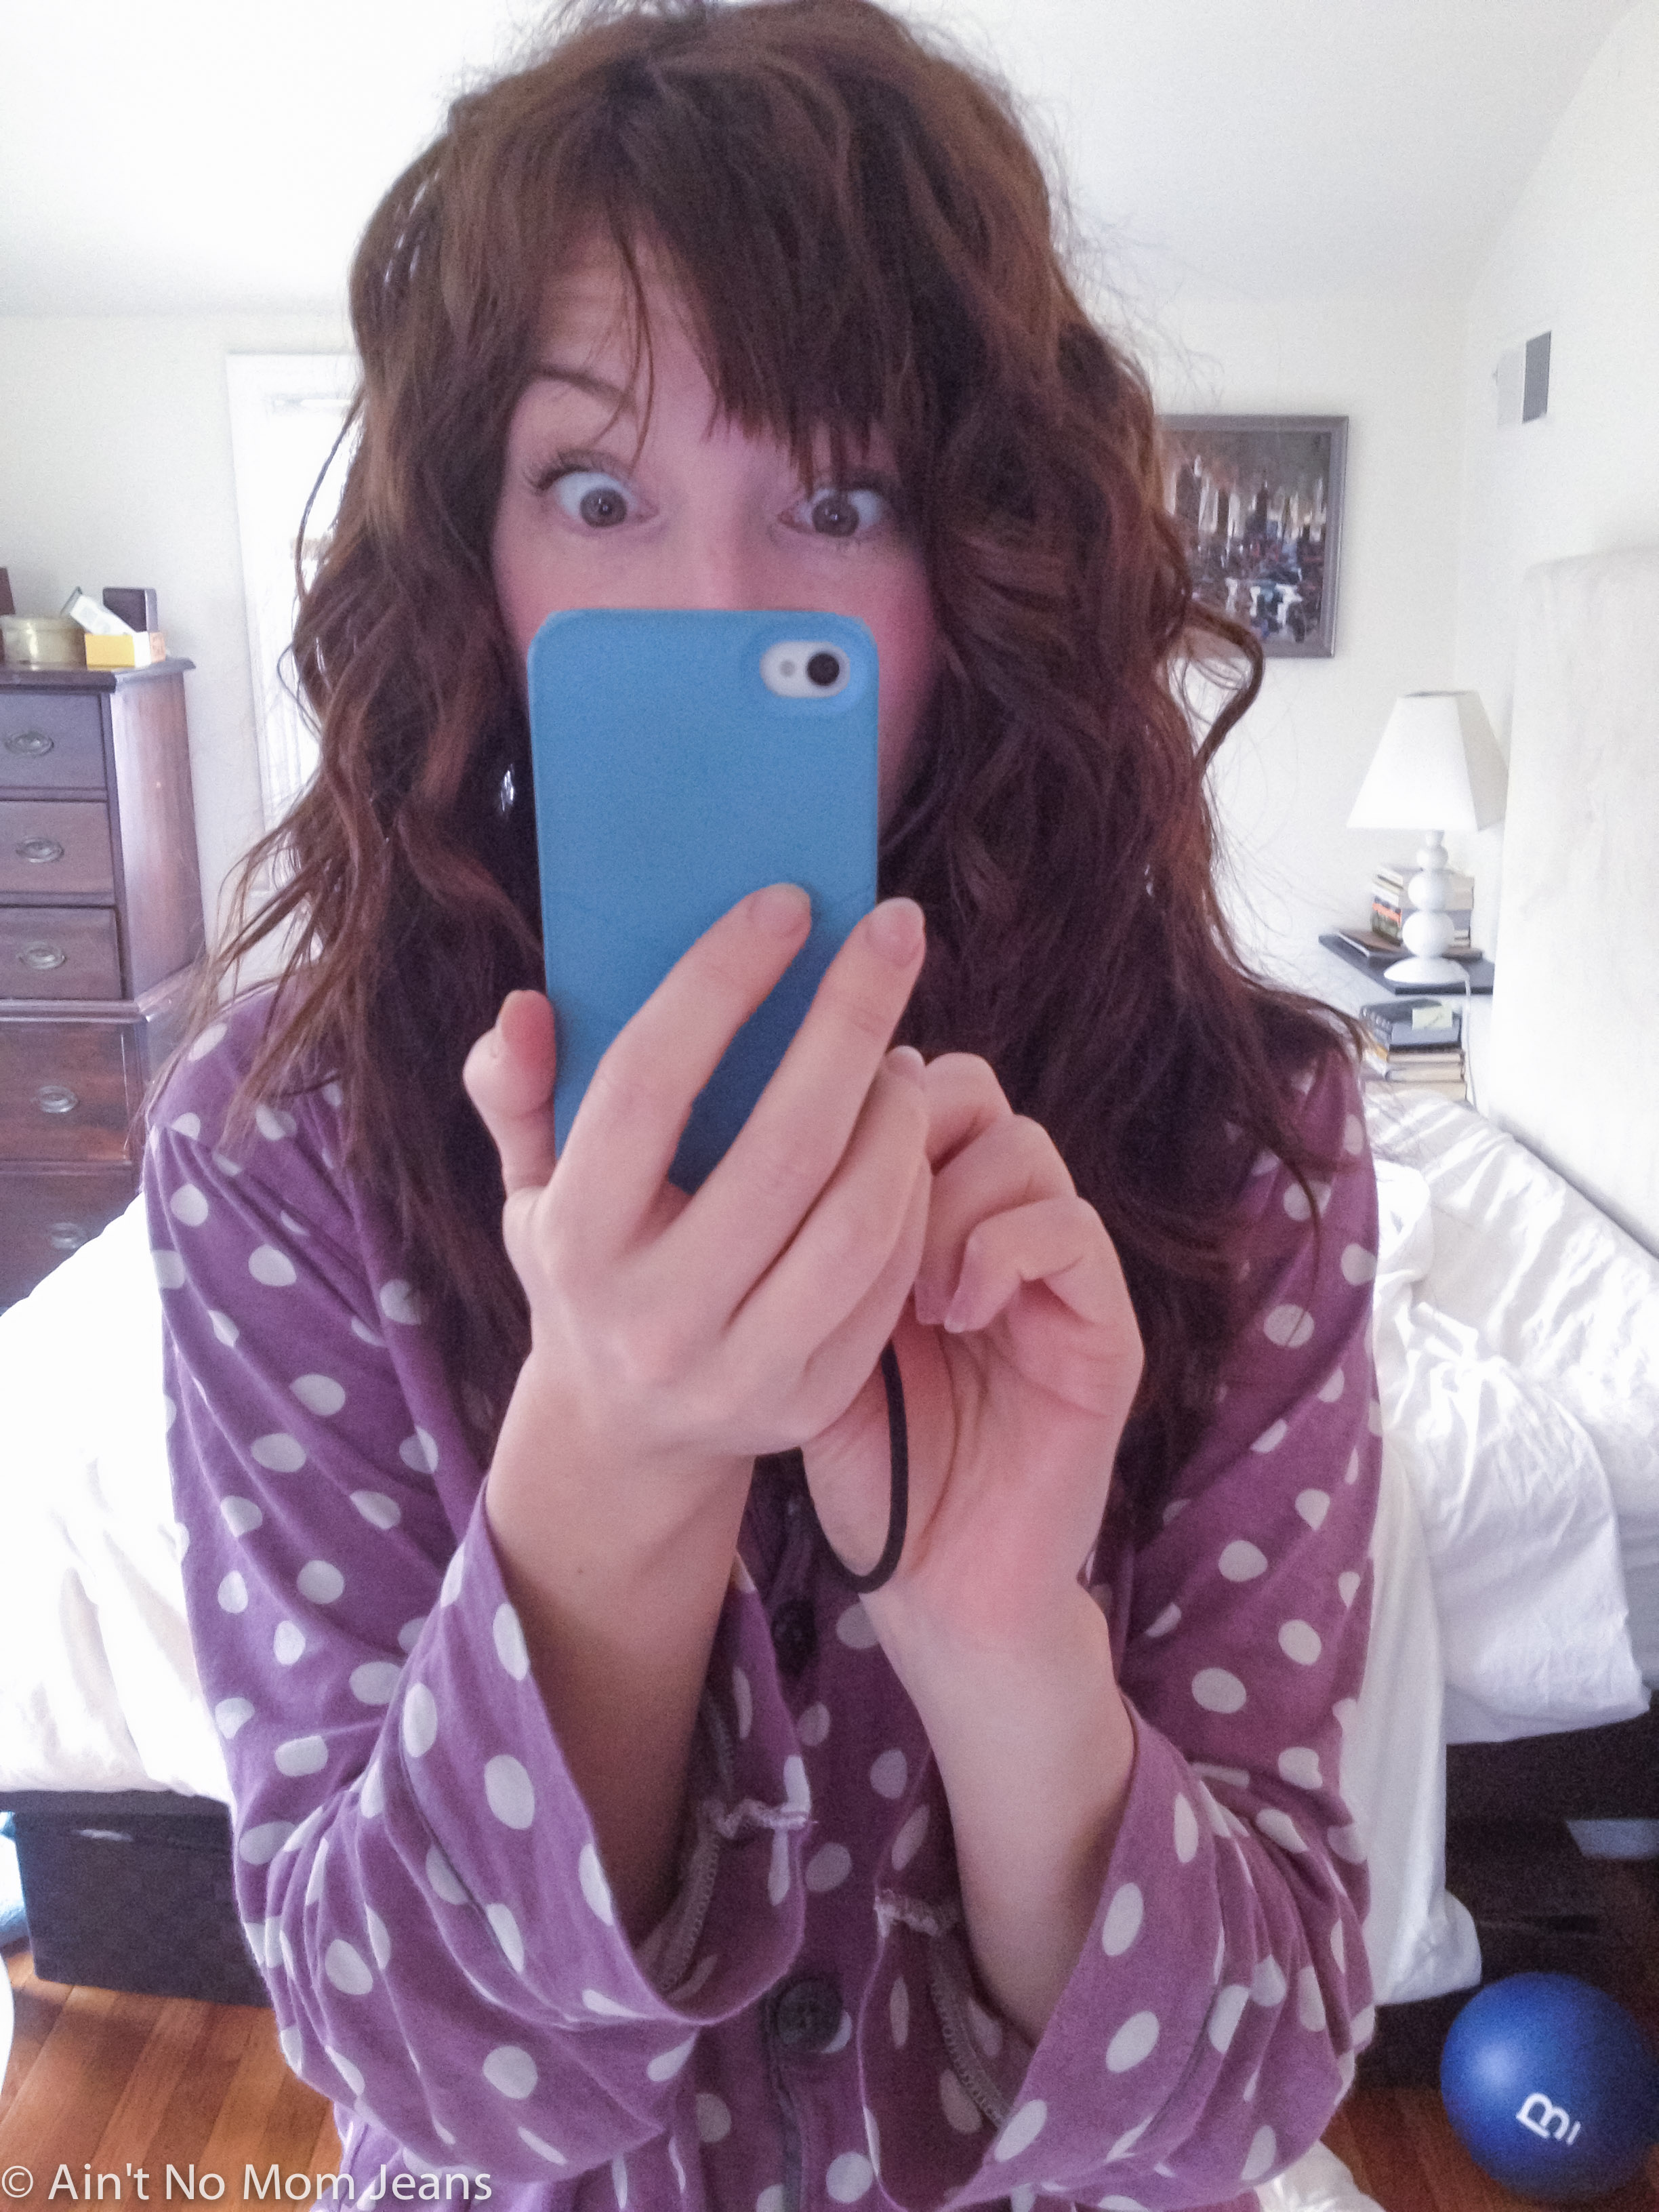
Awww. It's Curly Sue. All growed up.
But regardless of whether my hair looks awesome on Day 1 or spends the entire day pulled back in a ponytail/smushed under a hat…by the following day, it always looks like this:
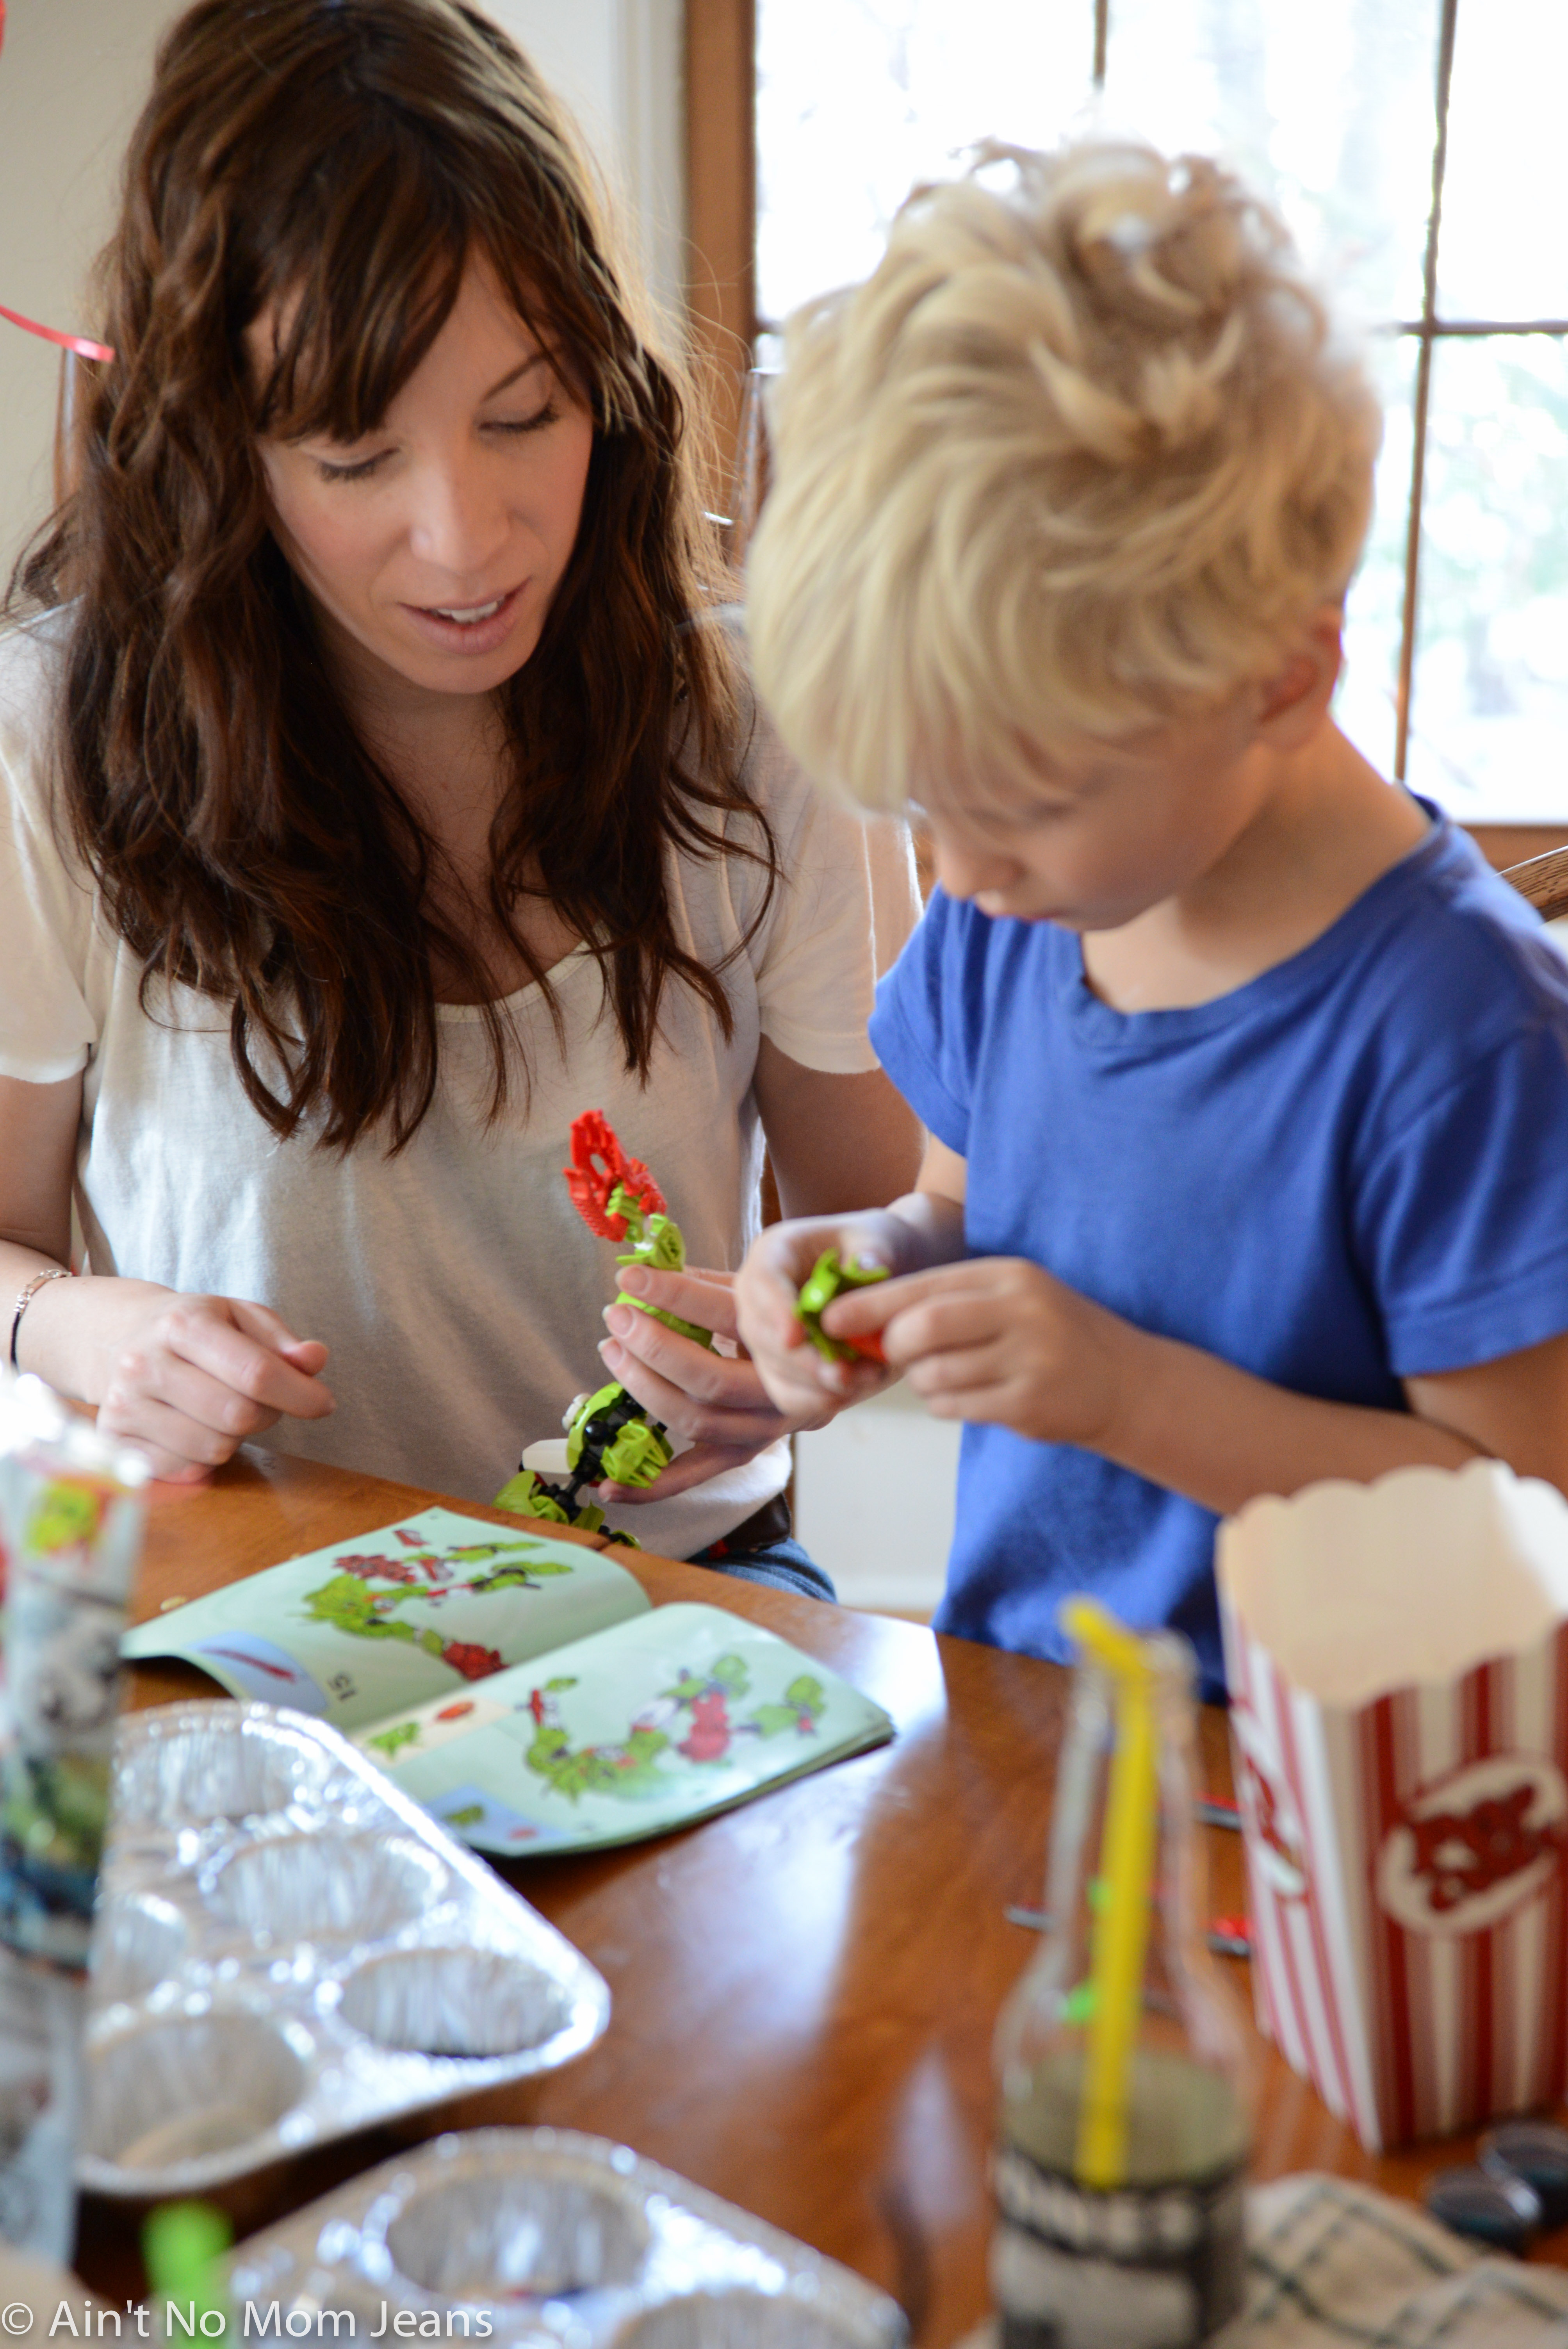
And with a few minor touch-ups every other day…it pretty much stays that way. You remember the pic earlier in this post, of Pax and I with the braided bangs? That was day 5, Mamas. DAY 5.
Method Two: With a Deep Waver
Pros: Super easy, lasts a couple of days
Cons: Only lasts a couple of days, looks vaguely like an instrument of torture
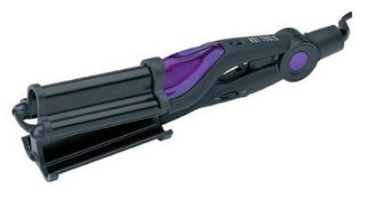
My new sister-in-law Amber (from my sister's wedding…you follow?) is also an insanely talented stylist. With the cutest hair ALWAYS. I was gushing over her hair on NYE, when she recommended the DEEP WAVER
(she didn't say it like that, it just begs to be written that way). Everyone she's recommended it to (including her sisters, my sister, etc. etc.) LOVES it. So of course, two cocktails in, I phone-surfed over to Amazon and bought it on the spot. And you know what? She's right. It's super-easy to use, and looks awesome. Like this:
Amber & Annie, NYE.
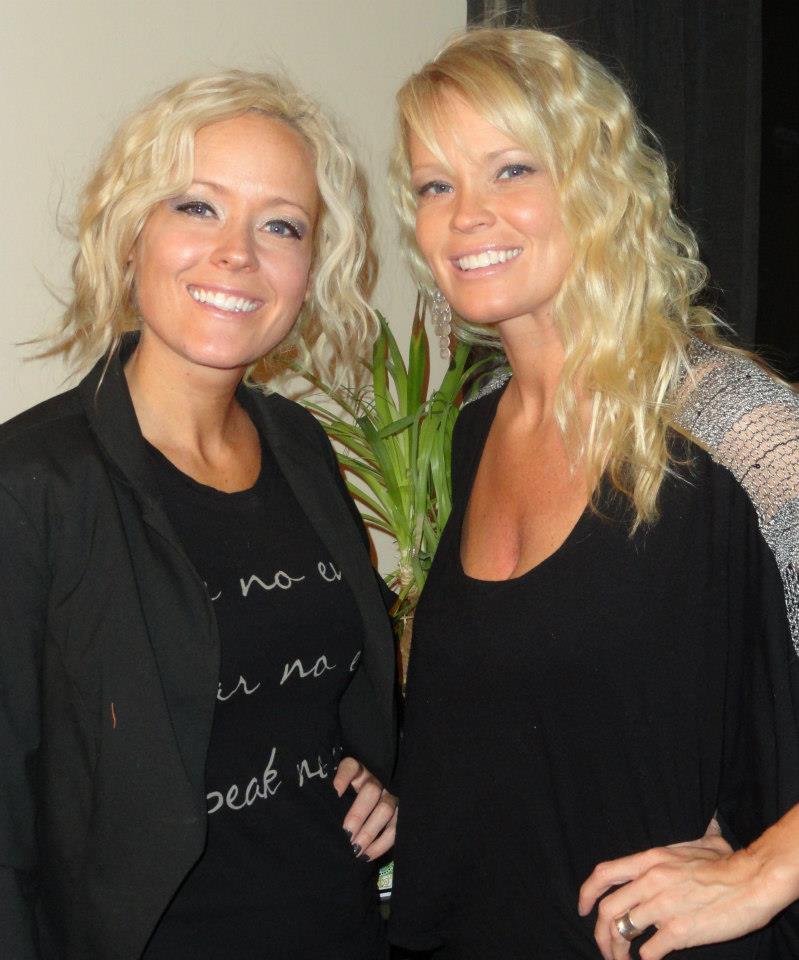
Amber was nice enough to play around with the DEEP WAVER at her salon, so we could show you guys how it looks on different hair types.
One of these may be me. Hint: I was not at the salon.
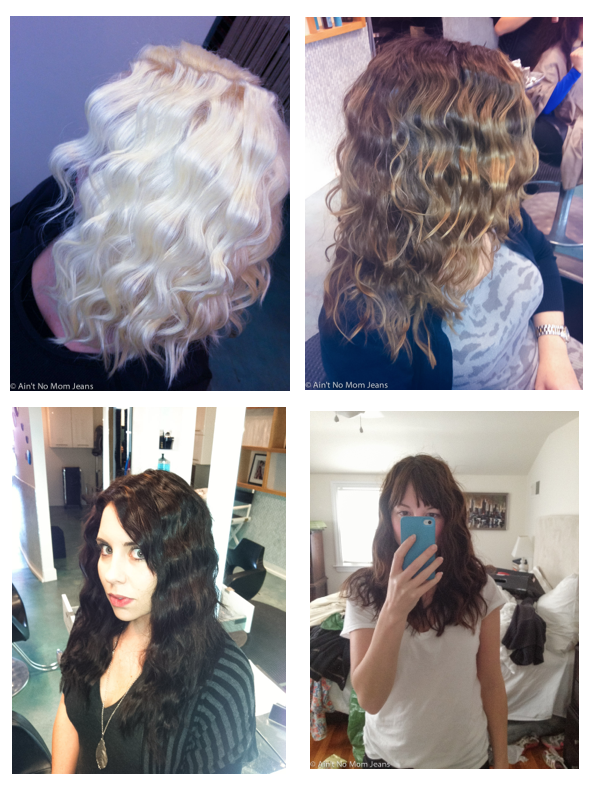
Amber says:
The bigger the sections of hair, the less of a wave. The thinner the section of hair, the deeper the wave. Also, let the sections cool before you touch them. Touching before they've cooled will make the hair frizz.
Ah. I use pretty thick sections simply because it's fast. By the next day, my hair looked like this:
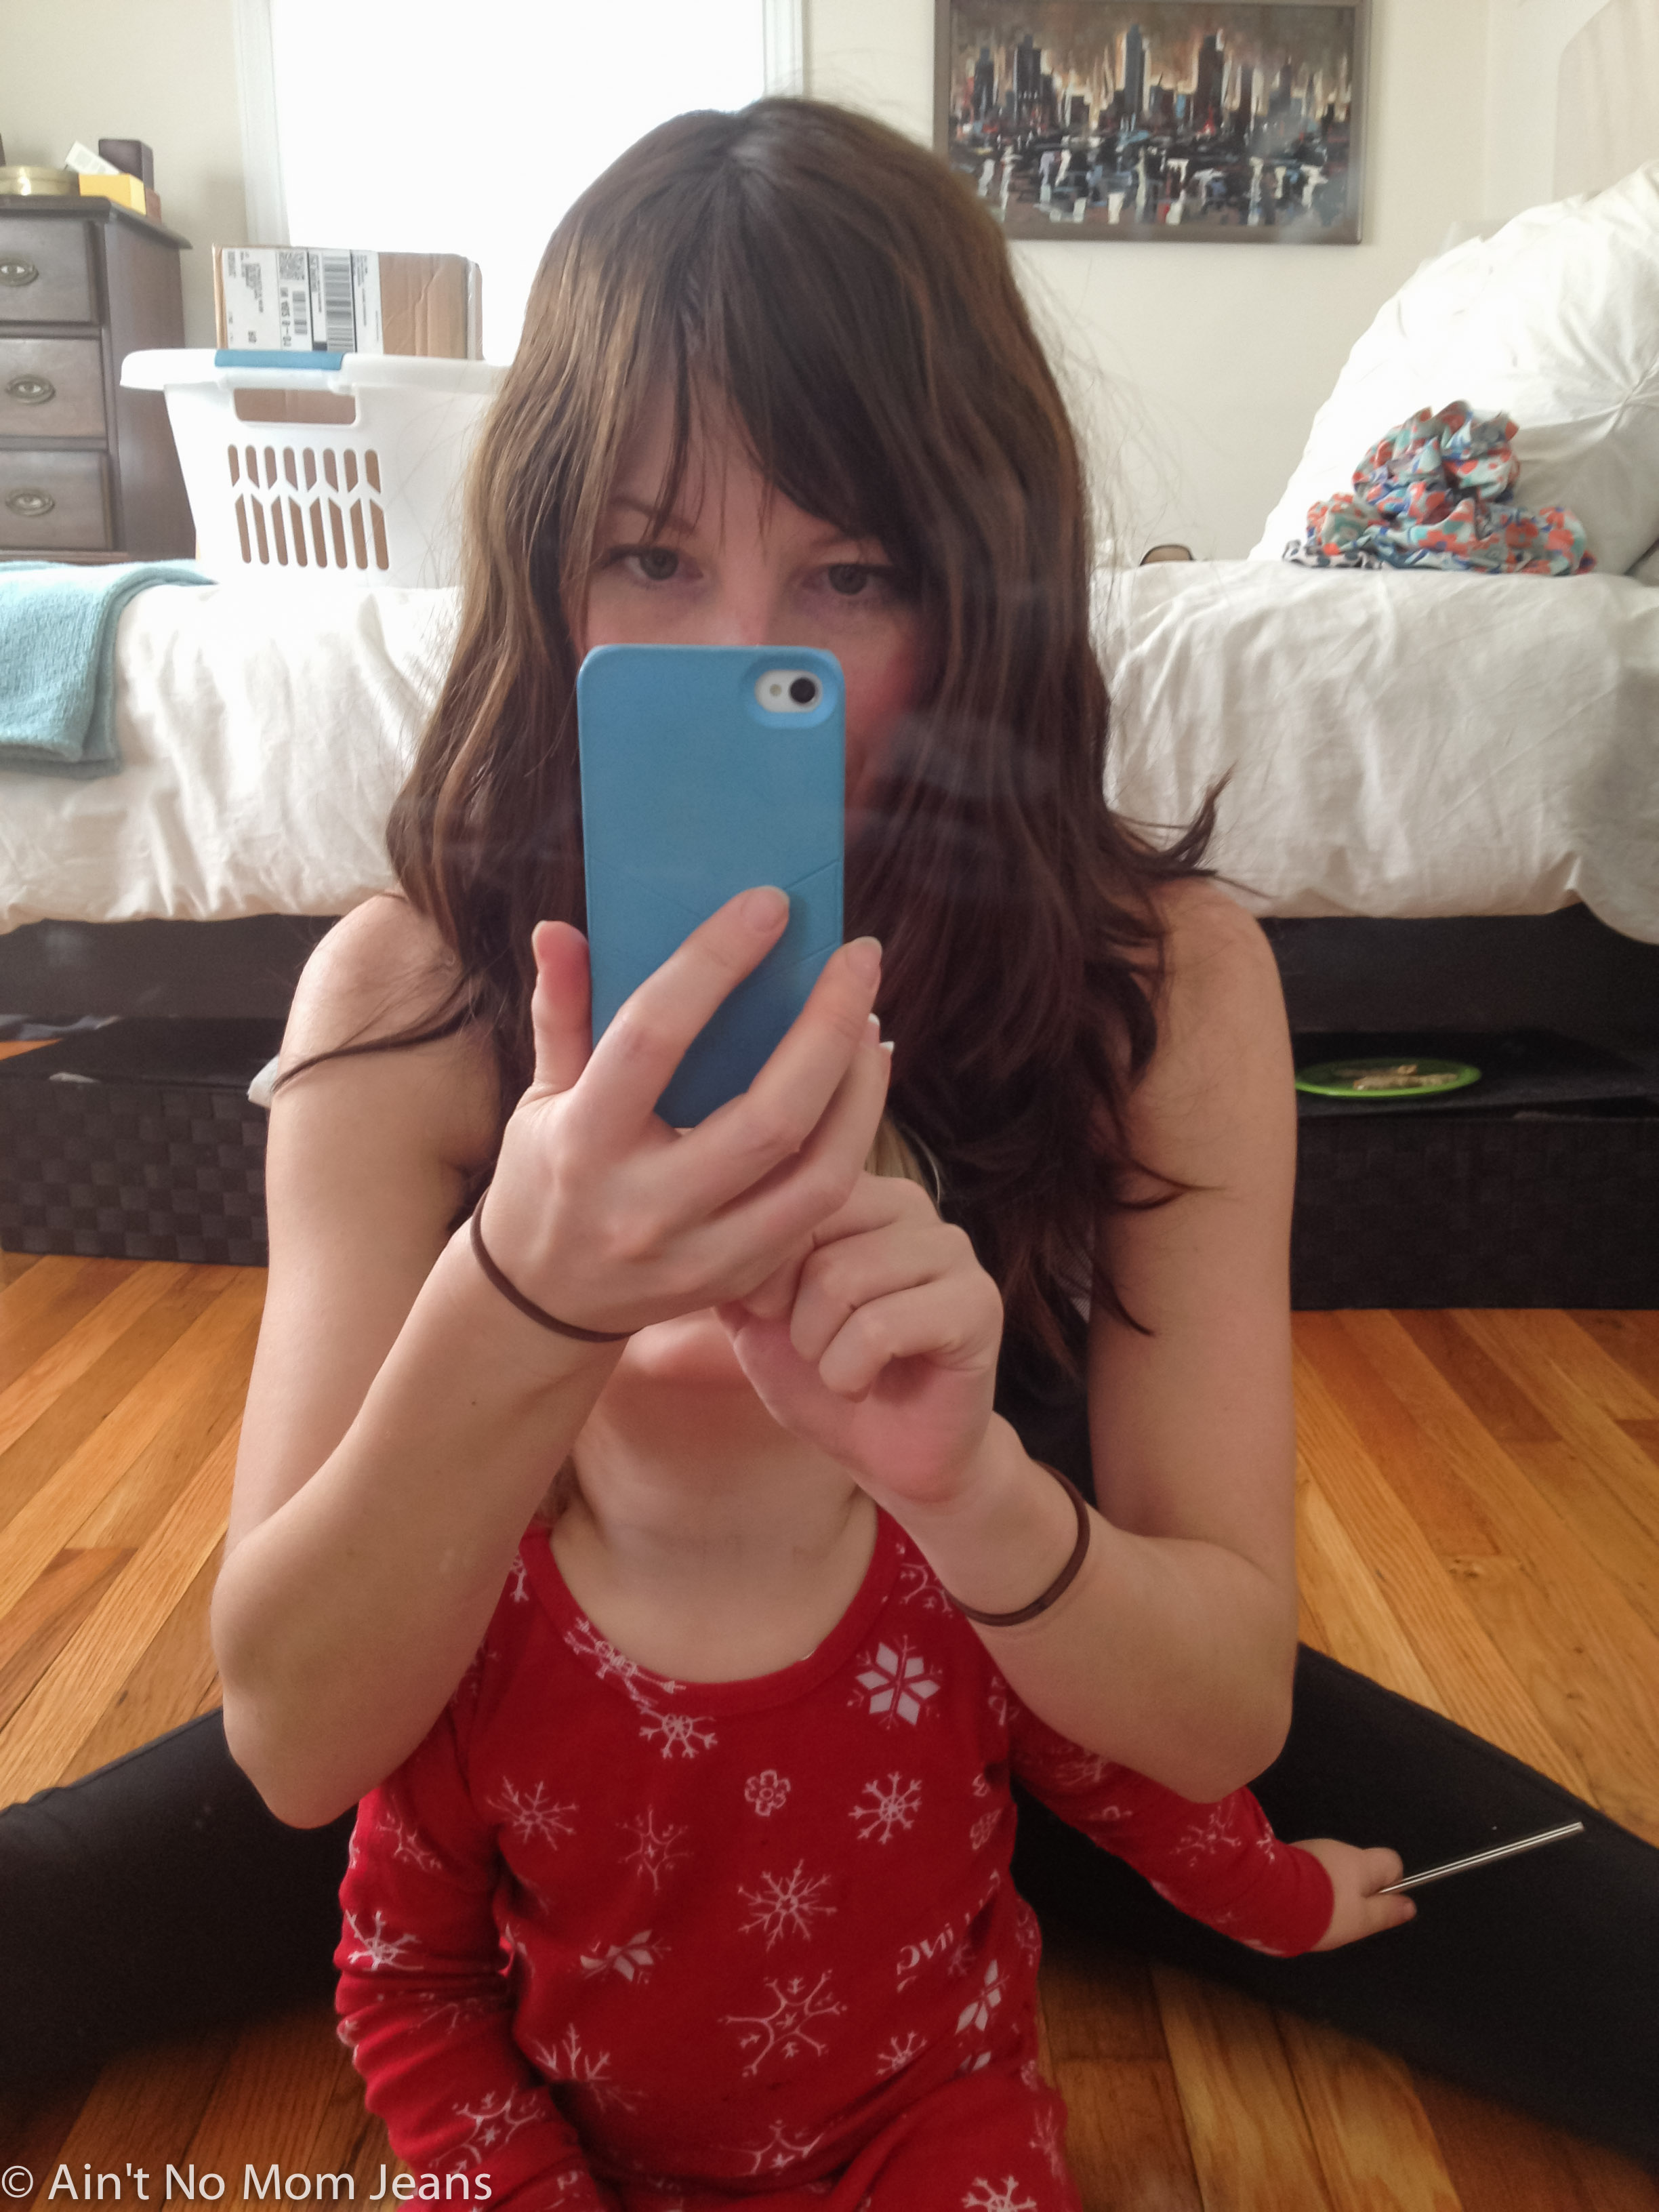
I wouldn't call this beachy waves, but it's still cute. I'll take it. And while this method doesn't have the staying power of the first method (at least not for my hair), the total time commitment is under 5 min. Seriously. I've busted this out a few times before taking Raines to preschool*.
*We may have been 5 min late. Which should tell you something about my time management skills.
Although, I suspect that if I tried pre-treating my hair with curl cream, then applying some hairspray after, I could probably increase the longevity of the style. More research needed!!
Here are a few other DEEP WAVER tips from Amber:
This tool is perfect for second day hair (not freshly washed). If you angle the tool just slightly around the hairline, it softens it just a bit. But when you get to the top of your head, hold your hair straight up in order to get the waver close enough to your scalp.
Awesome! Thanks, Amber! Mamas, if anyone is looking for a stylist in the North Carolina area, go see Amber at the Beauty Bar Boutique. She is amazingly talented.
ps. Amazon is currently selling the DEEP WAVER
I actually have one more trick up my sleeve…but it came to me via a reader, and I'm going to wait until tomorrow for that one (she included lots of awesome pics). This post has started to feel like a dissertation anyway. Let me know if you have trouble with the load time of this post – GAH! All of these pics! Now I see why so many bloggers just do videos.
That's it for now…but Mamas! If you have any easy (or insanely long lasting) hair tips, please let me know! I need all the help I can get….
xoxo
S
UPDATES – The below pics are from readers who sent in examples to go with a few of the comments below…
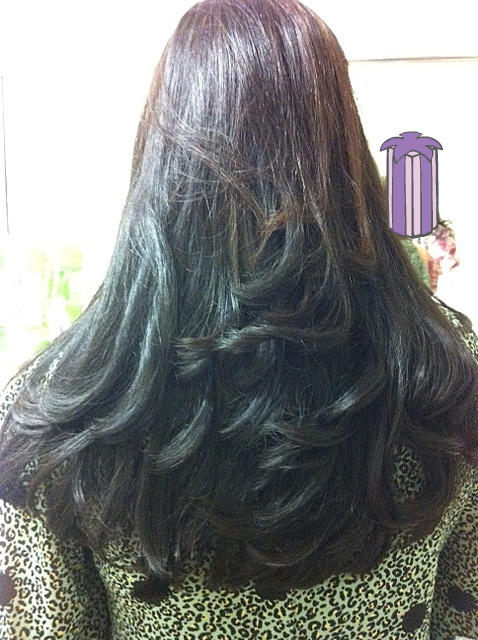
From reader DJ: The InStyler! It LITERALLY changed my life! I have a lot of thick wavy frizzy hair. I pretty much look like a lion if I don't do anything to it (sigh). The InStyler only takes max. 20 minutes to not only straighten my hair but I can also curl the ends out in the same amount of time. I can go 3-4 days without washing my hair (of course I try not to go that long but you know how it is)and my hair will keep the hairstyle THE WHOLE TIME. Also I've been using it for 2 years and it hasn't damaged my hair at all.
Scotti (my sister) and Beth were talking about the Deep Waver:
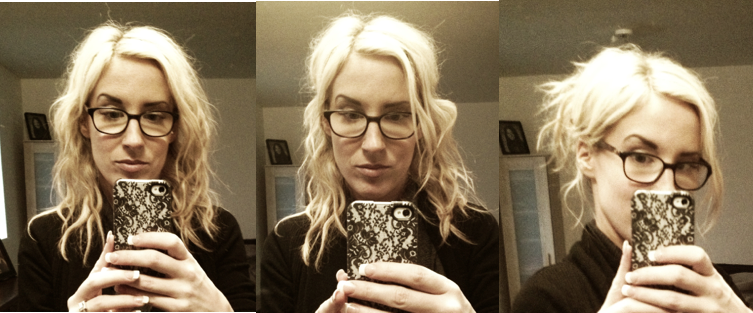
Scotti: Another plug for the deep waver? I can go 6 days without washing/doing my hair when I use it. I can wear it down 3-4 days (always looks better 2nd or 3rd day), then I'll pin half up for a day or two and finally all the way up the last day or two. Honestly, one of the best parts is that my hair is much HEALTHIER after using it for only a few weeks because I use much less HEAT on my hair. I bleach my hair, blow dry and have been straightening for years so my hair is fried. Even my stylist noticed the difference!
Scotti- that is my hair exactly! Fine hair that is easily damaged. Thanks for the insight…any chance you can send in a picture????
Yup. Here they are…down (on day 4) then pinned half up, then pinned all the way up.
From Reader Lauren:
I was the one who commented on your hair entry a few days ago and said I have naturally curly hair and struggle with my "cute rut". I had a few people ask about photos…literally, I was looking for some to send, and EVERY photo of myself that I like has my hair done the same way. I let my hair air dry, then pull the top part back above my ears; the portion I end up with in my hands I then twist and lift to the left side, and I bobby pin it in place. I go with more or less fluff/volume up top depending on my mood, and sometimes I change up the part (or lack thereof) or use a fancier bobby pin…but that's my daily mom hair.
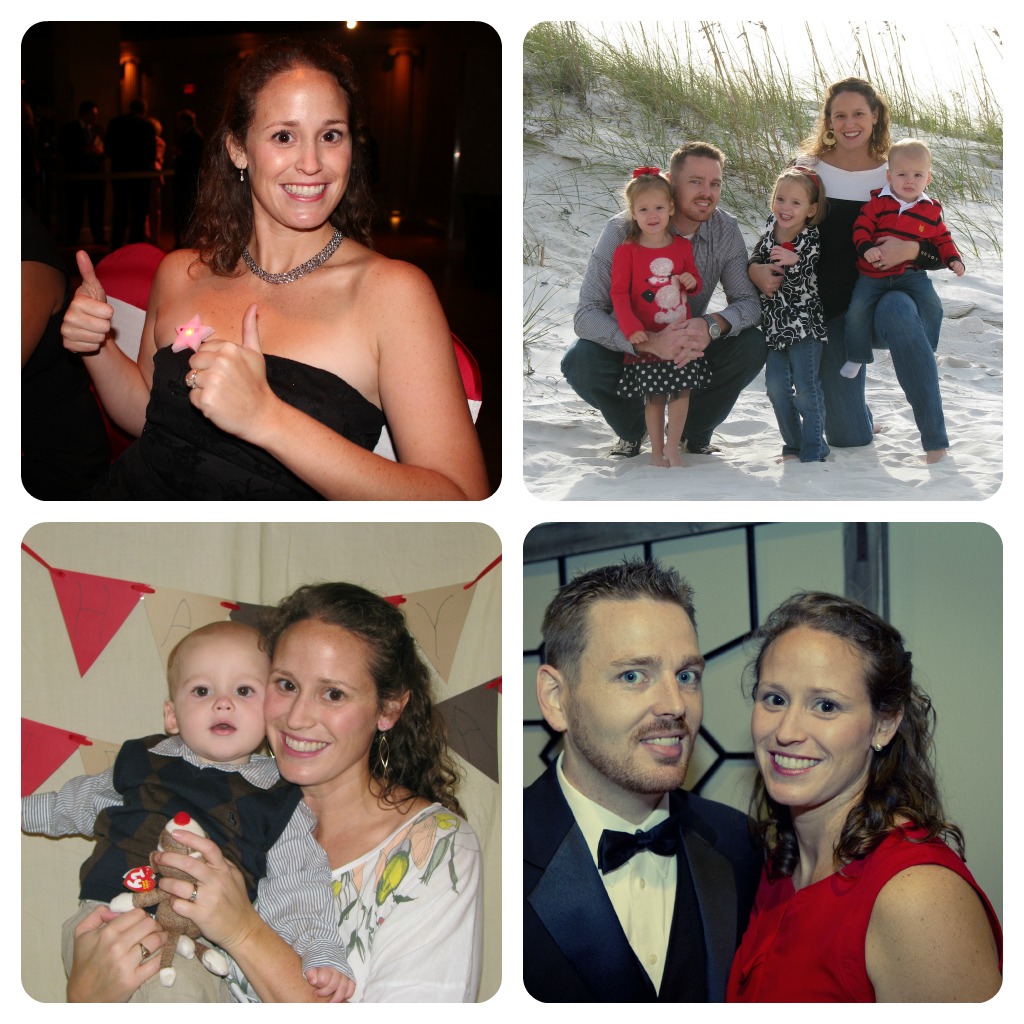
Also Mamas, it might be easier to do a little Linky party. If any of you have pics with a cool 'do, just link up here!